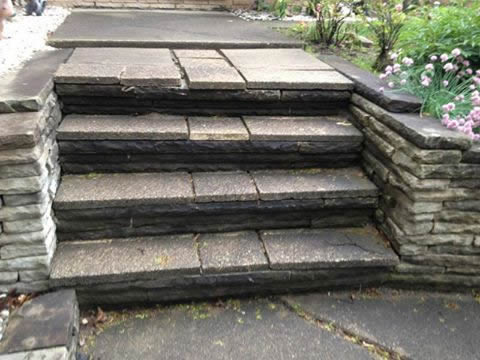
Replacing Damaged Pavers
 For the most part, brick paver patios, driveways and walkways are very durable. They can stand up to a lot of wear and tear. But that doesn’t mean they are indestructible. At some point in time, you will notice that a paver has been damaged and requires replacement. It may seem like a daunting task to think about replacing pavers, but it can be relatively simple. If you are ready to replace pavers for your home, here’s what it takes. Get in touch with a Clarkston brick paver repair company if you have any questions.
Remove the Paver
This can be either a simple task or a more complex task, depending on how your pavers are installed. If your pavers are installed with sand in between then this is a pretty simple task. Simply use a pry bar to gently lift out the damaged paver, or pavers if you have a few that are in need of replacement. If your pavers are installed with mortar in between, taking them out will be a little more work. Using a chisel and hammer, gently chip out the mortar between the pavers. Make sure that this is done with care, since tools can damage additional pavers, making more work. If you are at all concerned about not doing this correctly, hire a Clarkston brick paver repair professional to handle this work for you.
Prepare the Area
Once the paver has been removed, the ground below needs to be prepared. If there is still sand in the space, it needs to be watered down so that it can be tamped down and made level again. This may also require additional sand to be placed, especially if the paver that was removed wasn’t sitting level or had shifted significantly. If the sand is missing, new sand needs to be added, and the base soil should be releveled as well. The most important part of this process is making sure that the surface that the paver will sit on is level. If the paver isn’t level it can lead to dips or bumps that can be trip hazards or create more damage from shovels and feet catching on it.
Install the Pavers
Once you feel that the base surface is smooth, even and level, it’s time to begin setting the pavers. This is not as simple as just plopping a new brick into the hole. Even though the base surface may seem right, once the paver is placed, you need to make sure that it is flush with the other pavers. This may mean taking out or adding additional sand to the hole. Make sure that before the paver is replaced, the sand is smoothed. Check the level using a string or a level.
Fill Cracks
Prior to sealing the new pavers, the last step is to fill the cracks between the pavers. This may be as simple as placing new sand. However, if your surface uses mortar, new mortar will need to be mixed and set in the cracks. Pavers that are filled with sand can be used right away, if mortar needs to be installed, you may need to wait a day or two to use the surface so that the mortar can completely dry.
Looking for Clarkston Brick Paver Repair?
If you would rather rely on a Clarkston brick paver repair professional instead of the DIY approach, contact PMS Diversified Construction. We can help you with everything from sealing a paver surface, replacing broken pavers to installing a completely new paver patio or driveway.
